
I have always wanted a space on the internet for myself, but I have never really been one for social media. So after many years of wanting to buy a domain name but never really having a reason to own one, I finally did it.
Why create a website?
The real catalyst was wanting a more professional email address to use on job applications. I explored a couple different options, including Gmail, but didn’t have any success; everything I liked was already taken. From here, I began to toy with the idea of acquiring a domain name and then using that to create an email address.
Purchasing a Domain
I started by exploring the standard registrars for pricing and landed on 1&1 where I registered my domain (pacollins.com). The total cost for 12 months of registration was $1.17; this included the domain name, webmail, and WHOIS privacy. Honestly, I didn’t realize that domain names were as cheap as this was. To be fair, this was an introductory price that will eventually cost $16/year but that is still super cheap.
UPDATE: Since writing this post, I have transferred my domain to Google Domains.
Domain Registrar Comparison
| 1&1 | GoDaddy | Google Domains | Porkbun | |
|---|---|---|---|---|
| New | $0.99/yr | $0.99/yr | $12.00/yr | $8.84/yr |
| Renewal | $14.99/yr | $14.99/yr | $12.00/yr | $8.84/yr |
| Transfer | $0.99/$14.99 | $7.99 | $12.00 | $8.84 |
| DNS | Yes | Yes | Yes | Yes |
| 1 Free | $2.99/mo | $5.00/mo ($50.00/yr) | $2.00/mo | |
| Email Service | 1&1 | Office 365 | Gmail | Porkbun |
| Email Forwarding | Yes | No | Yes | Yes |
| WHOIS Privacy | Free | $9.99 | Free | Free |
| SSL Certificate | No | No | No | Yes |
Setting Up Email
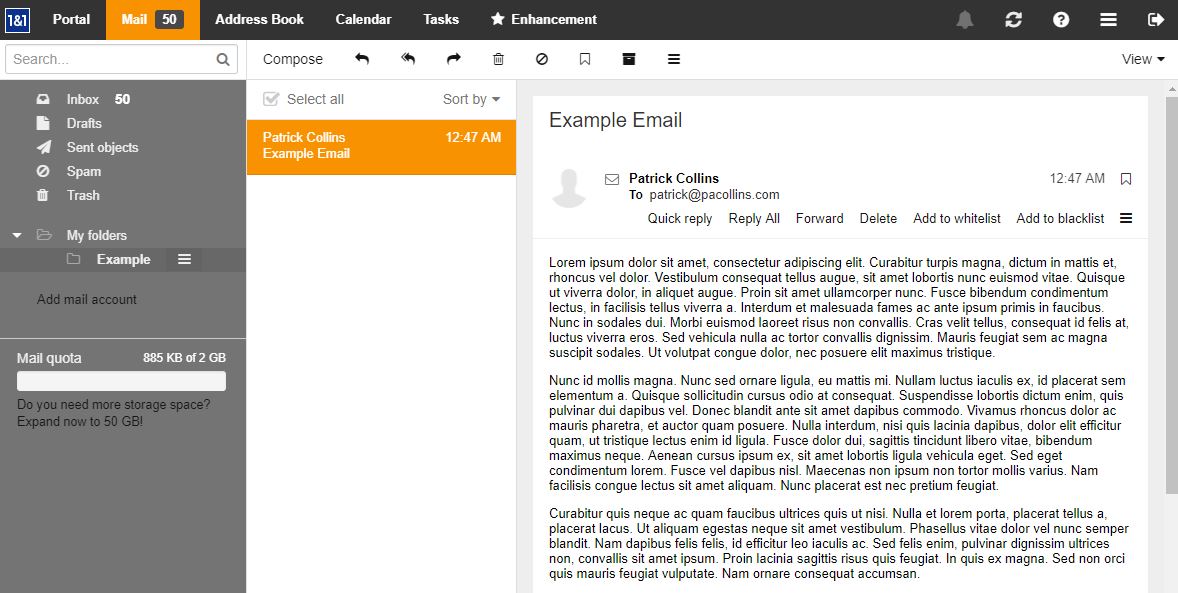
Honestly, 1&1’s Webmail service was pleasantly surprising. I thought that the interface was sleek and intuitive. If I wasn’t so attached to Gmail, I really wouldn’t mind using it. That being said, I opted to not use it and forward my professional email address to my personal email address before adding it as an alias. With my new email address established, I had accomplished what I had originally set out to do.
Of course, I couldn’t just stop there.
Creating This Site
I wanted to use the domain that I was paying for to create a personal site, but I had a couple of problems:
- I didn’t want to pay for hosting. I bought the domain out of necessity, but I don’t need a website.
- I didn’t want advertisements on my website. If I’m going to have advertisements, I want a cut of the money.
- I wanted autonomy with the site design and function. I want to be able to edit the code.
- I wanted to be able to develop my site offline. I want to be able to see all new content and new features locally.
- Most importantly, I wanted something that was lightweight and simple. The more cumbersome something is use, the less I would use it.
The requirements to not pay for hosting and not have advertisements immediately knocked out the majority of services that people typically use. This left me with mostly the blogging platforms, which were going to limit my autonomy.
So after most of the standard services did not meet my requirements, I came across GitHub Pages which offers free hosting with the only caveat being that the site must be static. For my purposes, this wasn’t an issue. As a side note, if you wanted to start your own personal site but didn’t have a domain you can still use GitHub pages.
UPDATE: Since writing this post, I have started using Netlify instead of GitHub pages.
So in order to solve issue #5, I needed to find something to use as a content management system (CMS). This is when I came across Hugo, which is a static site generator. This isn’t exactly the same, but would work.

Hugo gives the basic functionality of a CMS through file structure and markdown files, but then compiles everything into a static site. As an added bonus, Hugo has built-in functionality for a web server that will compile the site locally and in real-time.
There is even a variety of pre-built themes that can be used to make set-up even easier. I ended up selecting the Hugo Future Imperfect theme, originally by HTML5Up and ported to Hugo by jpescador. GitHub Pages was the solution to #1 and #2; Hugo was the solution to #3, #4, and #5.
UPDATE: Since writing this post, I actually took over the development of Hugo Future Imperfect, refactored it to a new theme called Hugo Future Imperfect Slim, and finally archived that theme to build my own from scratch called Calligraphy, which is what you see now.
With all of that done, in addition to some behind the scenes stuff with the theme, the majority of the site was up and ready to go. If you had no intention on personalizing the stylistic aspects of the theme, you could easily be up and ready with content in less than 24 hours.